 Bluetooth
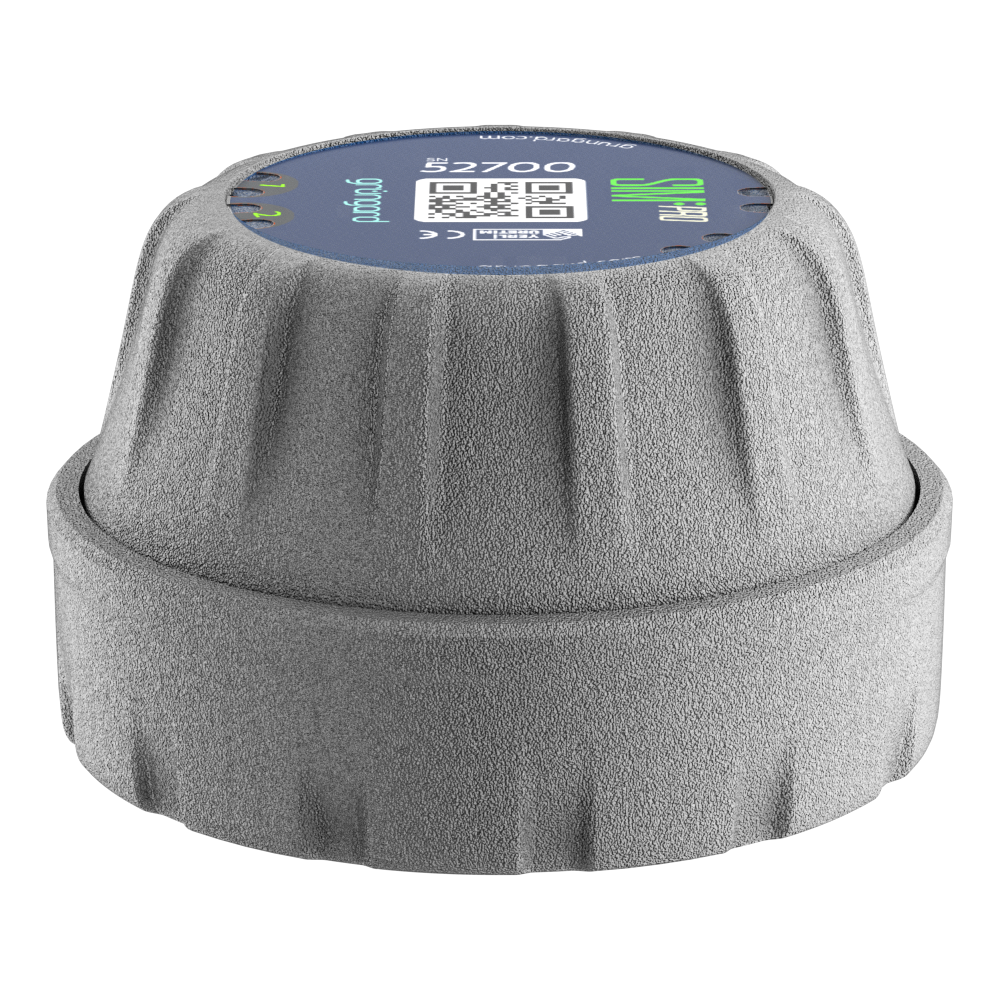 SIM Pro IOT
 Wi-Fi & Bluetooth
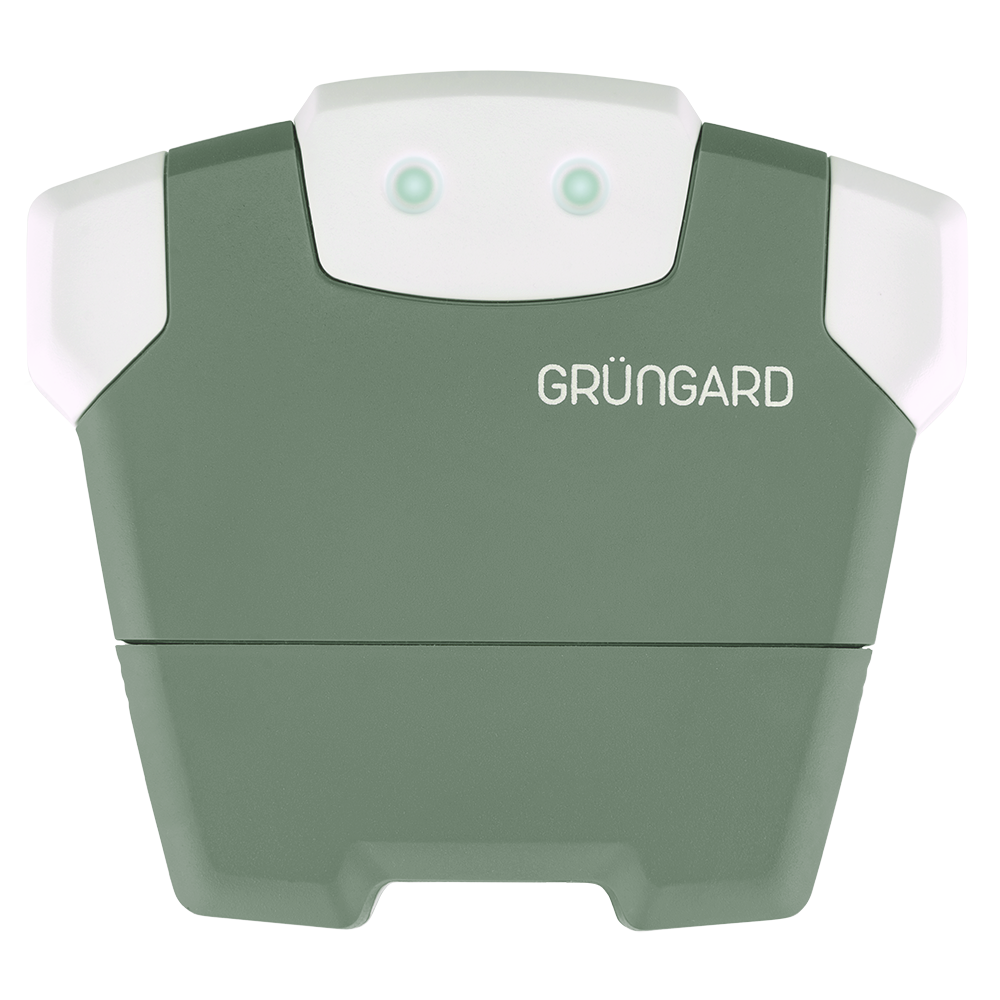 SimFarmer IOT
Gardener Wi-Fi & Bluetooth 24V – Installation & Setup #
1. Installation #
If the device will be installed outdoors, it must be placed inside a weather-resistant enclosure to protect it from rain and moisture.
Use the mounting hardware included in the box to secure the device firmly onto a stable surface—preferably a wall.
Before installation, check the Wi-Fi signal strength at the location where the device will be placed.
(If you have Wi-Fi at that exact spot, the device will most likely work without any issues.)
If the signal is weak, we recommend using a Wi-Fi extender (repeater) to prevent connection problems.
The device supports 2.4 GHz Wi-Fi networks only.
Before starting the setup, make sure your router is broadcasting a 2.4 GHz signal.
2. Solenoid Valve Connections #
The Gardener model is fully compatible with all common solenoid valves operating on 24V AC.
Each valve has two wires, and polarity does not matter.
Connecting a single valve:
Connect one wire to the C (common) terminal.
Connect the other wire to the Zone 1 terminal.
Connecting multiple valves:
Select one wire from each valve as the common line.
Combine these common wires and connect them to the C (common) terminal.
Connect the remaining wires to their respective zone outputs (Zone 1, Zone 2, etc.).
If cable connections are made outdoors or in areas exposed to irrigation water, use Grüngard Pratick waterproof connectors or a similar insulated connector to ensure proper waterproofing.
3. Power Connection #
Once all wiring is complete, plug the included power adapter into both the outlet and the device.
When power is supplied, the indicator light on the device will turn on, showing that it is ready for operation.
If the lights do not turn on when the device is powered:
First check whether the outlet has electricity.
(You can test this by plugging in another electrical device.)
If the outlet works but the lights still do not turn on, please contact our support team for technical assistance.
Applying power only after verifying all connections ensures safe operation.
4. App Setup & Testing #
After connecting the power:
– Install the Grüngard mobile app on your phone.
– Scan the QR code to start the initial pairing process.
– Complete the Wi-Fi setup as prompted.
– After setup, test the system using the “Water Now” option or through the zone settings.
– Test each zone individually to make sure the system is operating correctly.
Once all connections are complete, your system is ready for immediate use.
Create irrigation schedules, manage zones, and control the system remotely through the mobile app.
If you experience any issues, you can contact us via our WhatsApp live support line. Our technical team will assist you quickly.
Water your garden with peace of mind—control is now in your hands.